PC251: Getting Started with Python
Here are a set of step-by-step instructions for getting the Anaconda Python Distribution running on your computer and writing a simple few lines of Python code using the a Jupyter Notebook.
- Download and install Python 3 from the Anaconda website. Be patient! The installation may take up to half an hour.
- Open Anaconda Navigator. On Windows, the installer will create a Start menu shortcut for Navigator. On macOS, you will get a clickable Anaconda-Navigator application that you can run via Launchpad. On Linux or macOS you can also run Anaconda Navigator by opening a terminal window and typing the command
anaconda-navigator. Once you have launched Anaconda Navigator you should see a window like the one shown below. Be patient! It may take Anaconda Navigator a few minutes to launch the first time.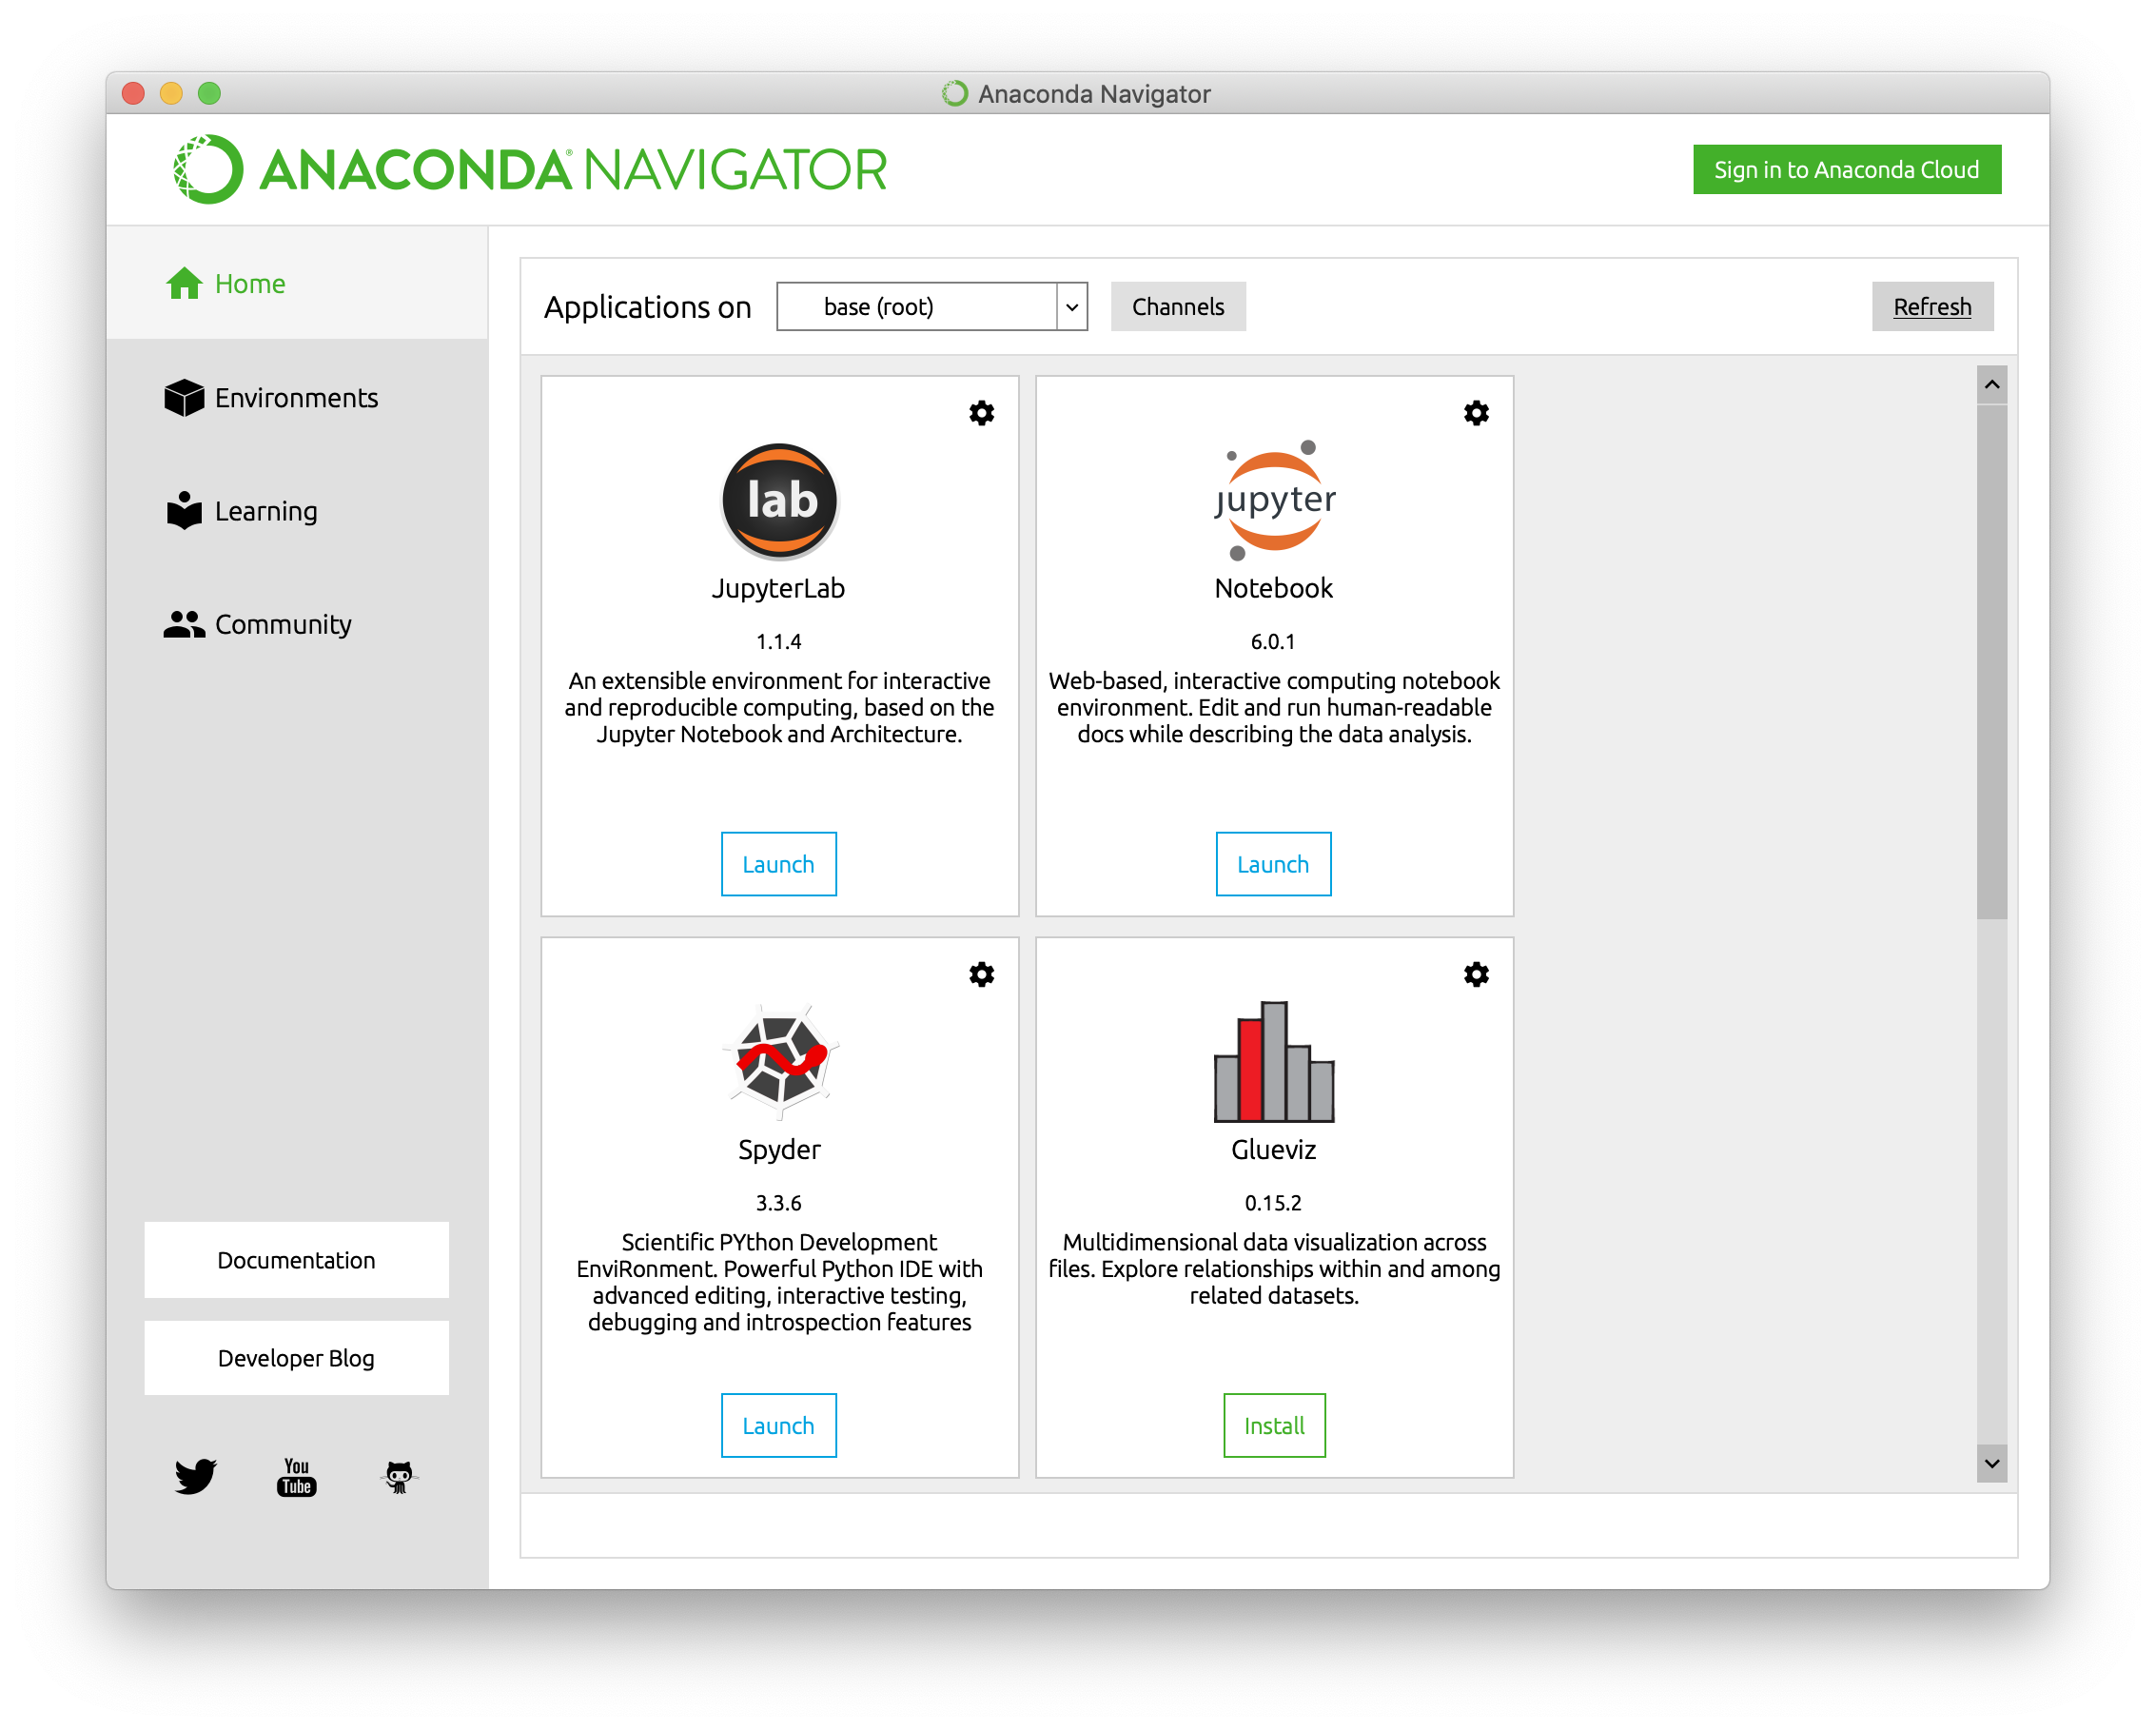
Run a Jupyter Notebook by clicking the Launch button. This will launch a notebook page in your default web browser that will look like the page below.
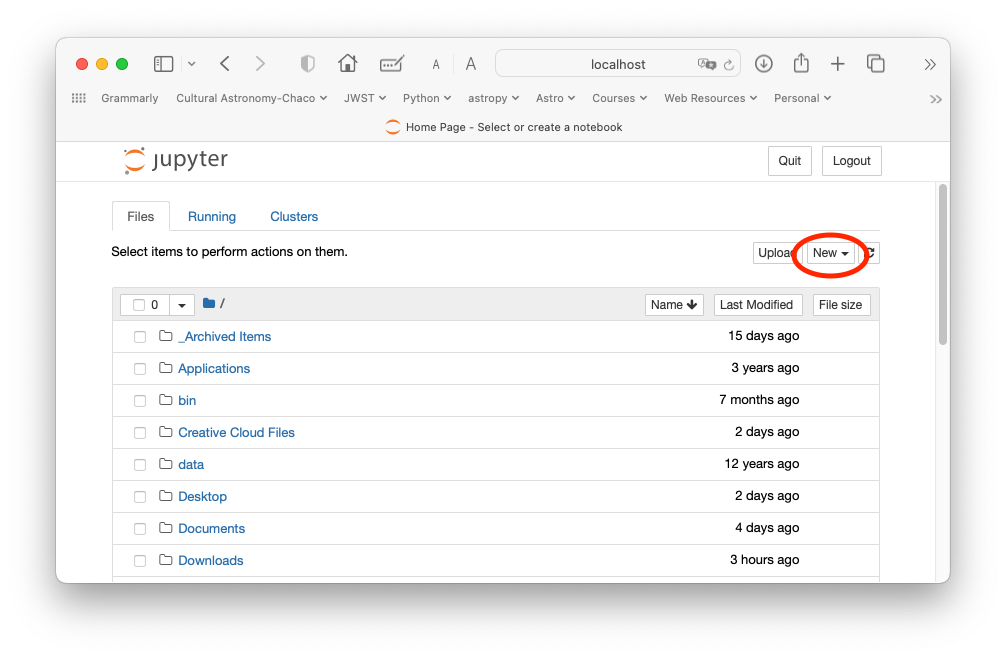
You can now navigate to a notebook on your computer and open it. You can create a new page using the New button circled in red in the image above.
Using a Jupyter Notebook
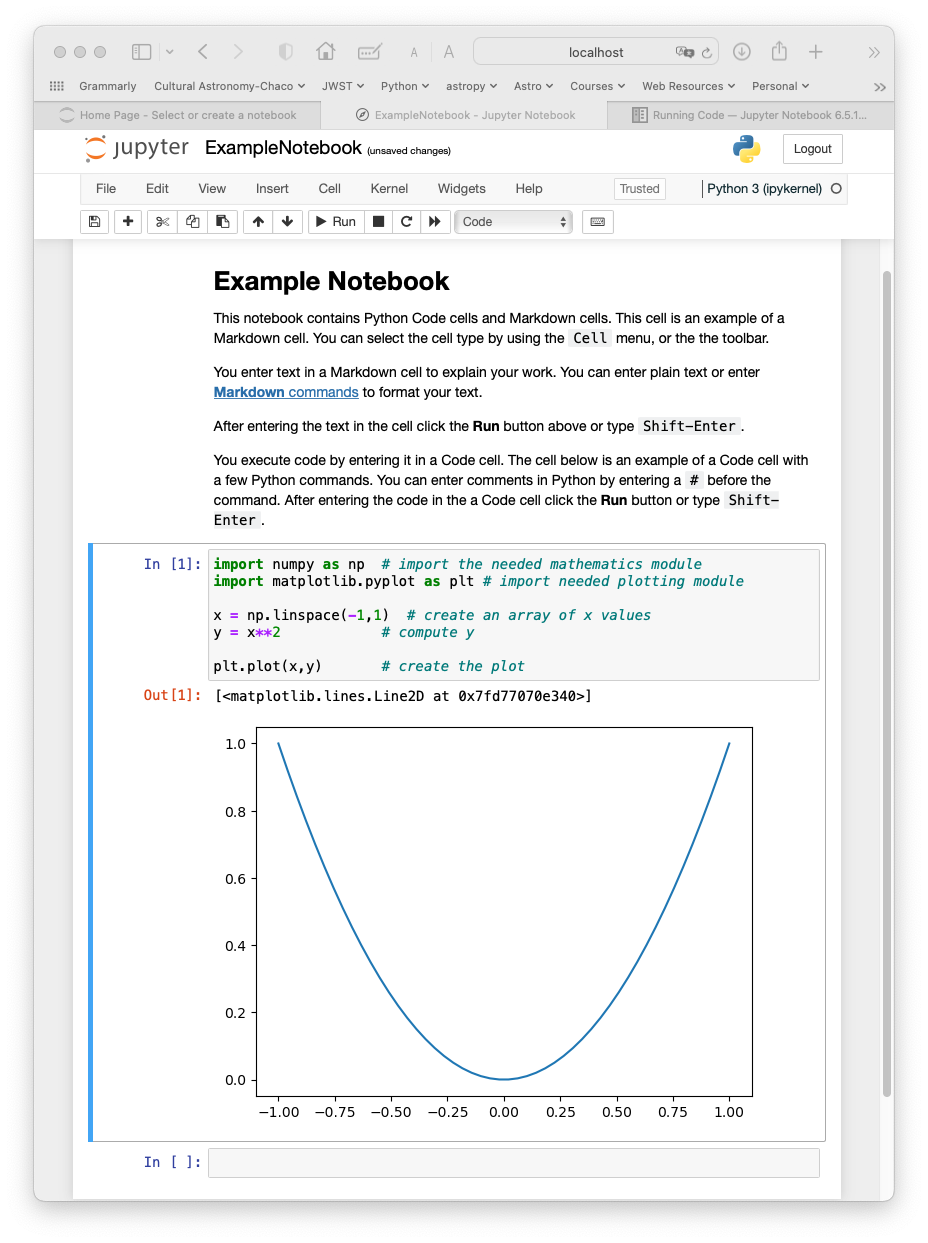
A Jupyter Notebook is a single document where you can run Python code, view the output, and even document your work with text and graphics.
The screenshot below shows an example notebook. If you wish, you can download a ZIP file containing this notebook and run it yourself.
Learning More
A good resource for learning how to use Python to solve physics problems is the Scientific Computing Toolbox website. The website consists of several online tutorials containing example code and exercises with solutions. The list below contains links to some specific Toolbox webpages that contain example code that you can use to solve the assigned computer problems and a link to a tutorial on using Python to fit the data you will take in the lab.
- Sci Comp Toolbox: Quick Tour This page introduces fundamental Python concepts needed for scientific computing.
- Sci Comp Toolbox: Finding Roots This page descirbes routines for numerically finding the roots of an equations. (Useful for solving problem 4.33)
- Sci Comp Toolbox: Python command summary This page contains short summaries of how to use all of the functions used in the toolbox.
- Linear least squares fitting This page contains an example of using Python to fit a linear function to a set of data points.