Colorado College Phipps Observatory
CCD Procedure
Getting Started | Changing Filters | Image Acquisition | Saving Image Files | Focusing
Getting Started
- Log into the Mac computer using the username
ccdcontrol.
- Run CCDOpsLite by double-clicking the application's icon
 or clicking on its icon in the Dock.
- Select Preferences... from the CCDOps Lite menu. This will bring up the CCDOps Lite Preferences window shown below.
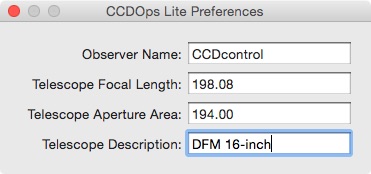
- Confirm that the Telescope Focal Length, Telescope Aperture Area, and the Telescope Description are all set as shown above. Put your own name name in the Observer Name field. Close the window when you are done.
- Click the Link/Setup button in the Camera Control Panel1 as shown below.
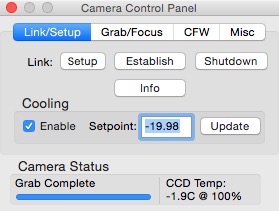
- Click the Establish button to establish the link between the camera and the computer.
- Once the link is established, enable cooling by checking the box and change the set point to be 40C to 50C below the outside air temperature. Click the Update button to make the changes active.
Changing Filters
- Click the CFW button in the Camera Control Panel.
- Select FW5-STX from the Model drop-down menu. This only has to be done once per observing session.
- To use a particular filter select it from the Filter drop-down menu. The image below shows the window after the V filter has been selected. Note that the status of the filter wheel is shown in the CFW Status area of the window.
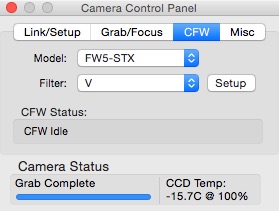
Image Acquisition
- Click the Grab/Focus button in the Camera Control Panel. You'll see a window like the one below
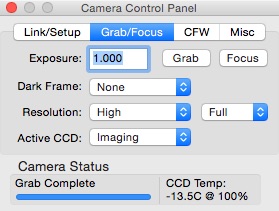
- Set the desired exposure time in seconds in the Exposure field.2
- Select appropriate one of the three options under the Dark Frame drop-down menu.3
- Normally the Resolution should be set to High and Full, and Active CCD should be set to Imaging
- Click the Grab button to take the exposure. The Camera Status portion of the window shows you what's happening. The image will displayed in a separate window when the exposure is complete.
Saving Image Files
Select Export As... from the File menu. That should bring up a window like the one below.
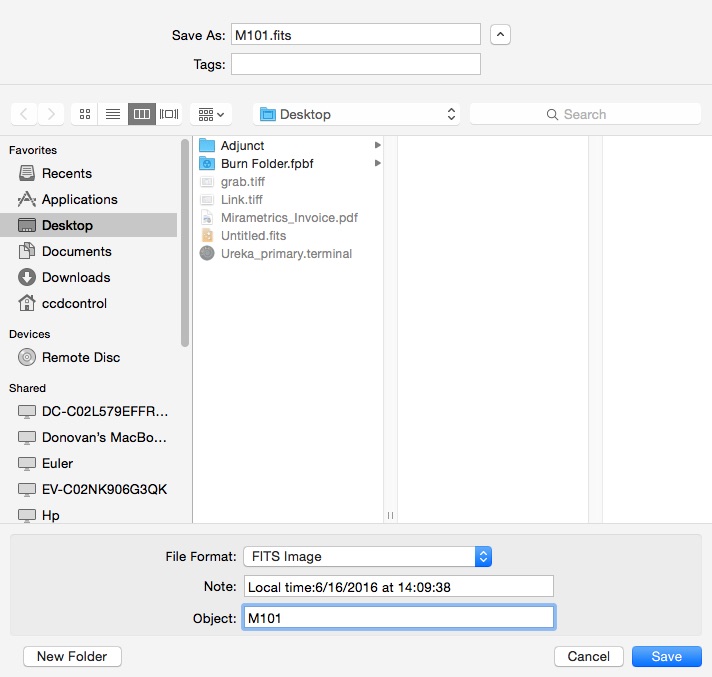
Select FITS Image from the File Format drop-down menu at the bottom of the page.
Select the appropriate directory and enter the name of the file in the Save As field. Be sure the file name has the extension .fits.
- Fill in the Note and Object fields at the bottom of the window. You can enter any text you want in the Note field. Avoid using spaces or special characters in the Object field and remember image processing programs that read this field are case sensitive so be consistent.
- Click the Save button to save the file.
Focusing
Coming Soon!